Video Settings On DJI Drones Shutter Speed, ND Filters And Color Profiles
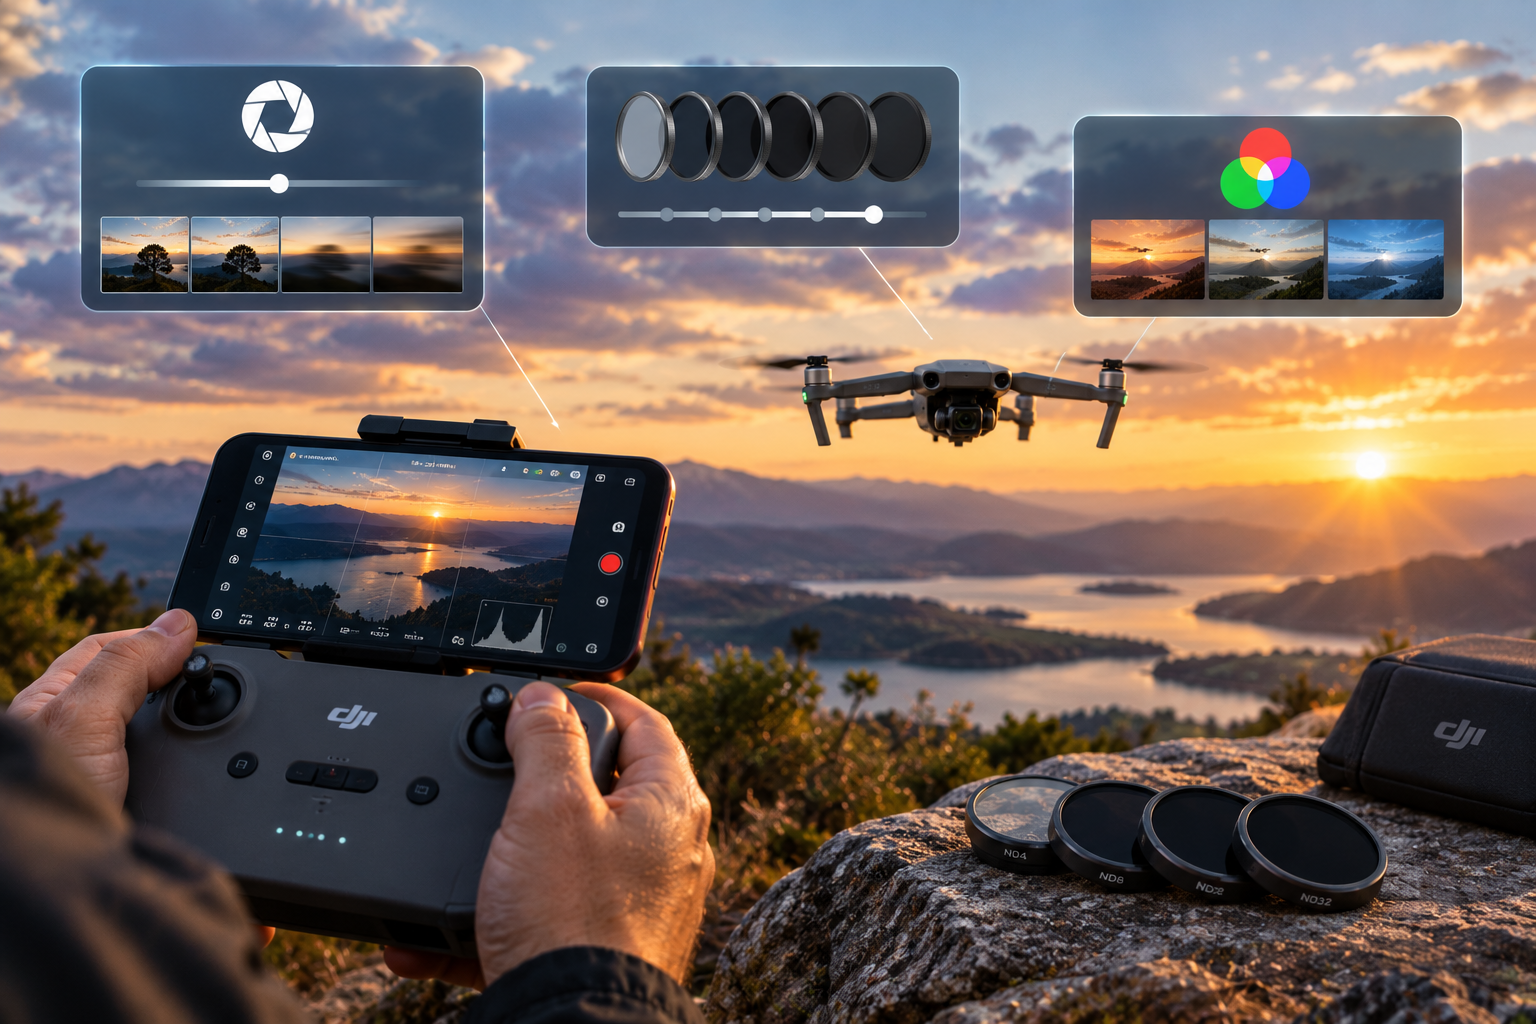
Today’s drones record very good video in automatic mode, but manual settings make the difference between video that’s fine and video that looks cinematic. These are the settings that matter most and how I configure them.
Resolution and frame rate
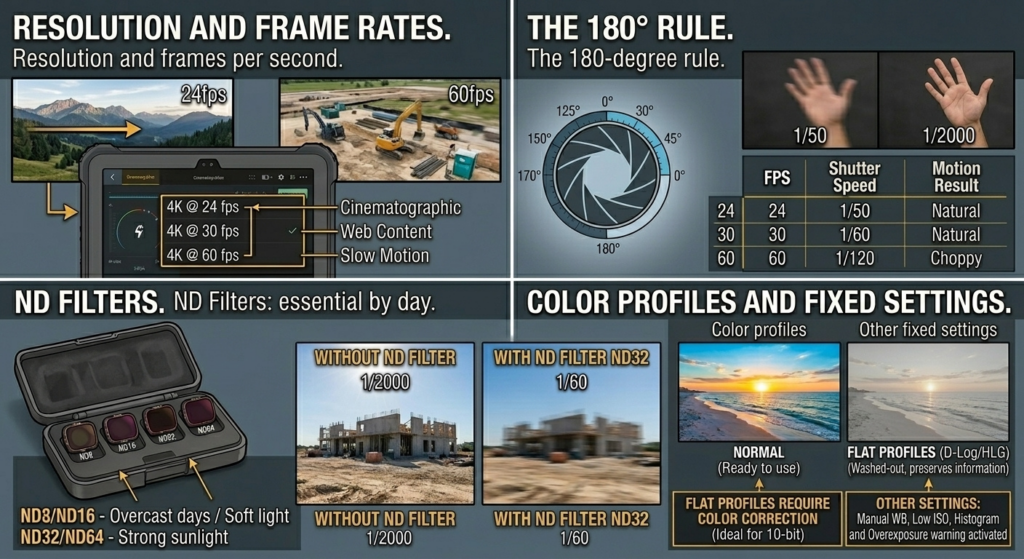
- 24 or 25 fps gives the most cinematic look.
- 30 fps is common for web and social media content.
- 60 fps or more lets you slow footage down in editing or handle fast movement.
I choose the frame rate before flying and keep it for the whole project so the clips cut together.
The 180-degree rule
For motion to look natural, the shutter speed should be about double the frame rate:
- 24 fps → 1/50
- 30 fps → 1/60
- 60 fps → 1/120
With a much faster shutter, motion looks choppy and jittery. You notice it most in pans and in moving water or trees.
ND filters: essential in daylight
The catch is that in full sun, a 1/50 shutter lets in too much light. Many DJI drones have a fixed aperture, so the only way to compensate is with ND (neutral density) filters, which work like sunglasses for the camera.
- ND8 or ND16 for overcast days or soft light.
- ND32 or ND64 for bright sun.
The practical approach is to carry a set and pick the one on site that lets you keep the correct shutter at the lowest possible ISO.
Color profiles
- Normal: ready-to-use colors. Ideal if you won’t be color grading.
- Flat profiles (D-Log, D-Log M or HLG, depending on the model): the image looks washed out while recording, but it keeps much more information in highlights and shadows. They need color grading in editing, and give their best results recorded in 10-bit.
Other settings I lock
- Manual white balance, so color doesn’t shift mid-shot.
- ISO as low as possible, to reduce noise.
- Histogram and overexposure warning turned on in the app, so I don’t blow out the sky.
With these settings locked, the result depends on what really matters: light, framing and smooth camera moves.
Author: Armando Colina Rojas
Comments